

Every great pole dancer started with the same 10-15 moves. Not because those moves are the most impressive - they're not but because they build the foundational strength, body awareness, and technique habits that everything else depends on.
This guide covers the 12 essential beginner pole moves that form the real foundation of a pole dance practice: what each one is, the step-by-step technique to execute it, what it develops in your body, and the common mistakes to correct. Work through these systematically, develop consistency in each before moving on, and you'll build the foundation that lets advanced moves come more naturally.
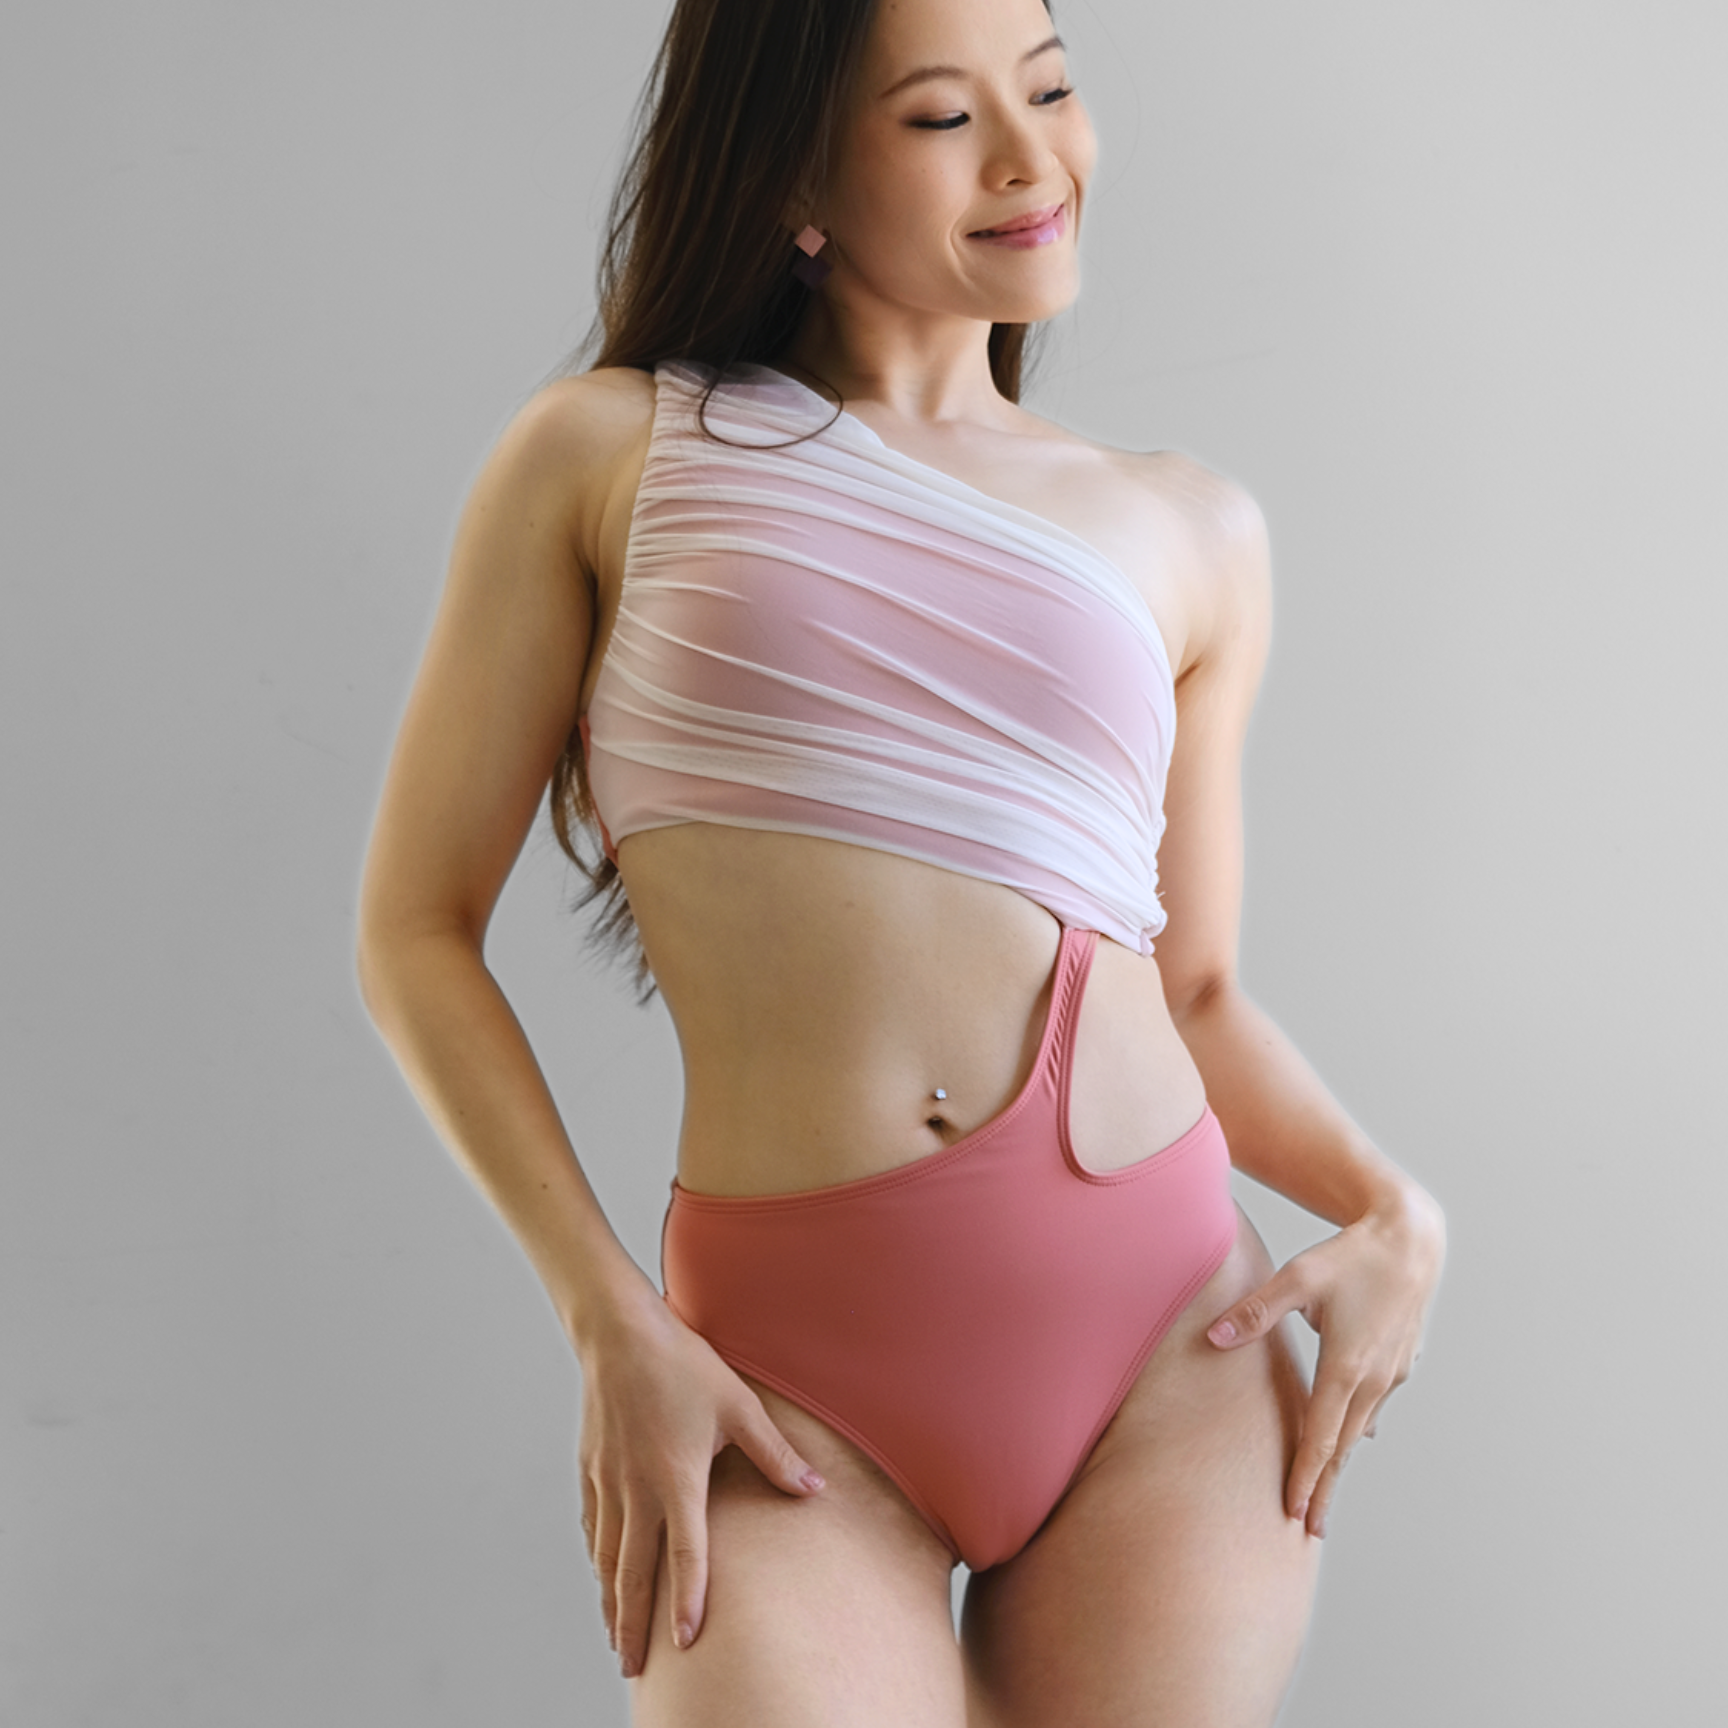
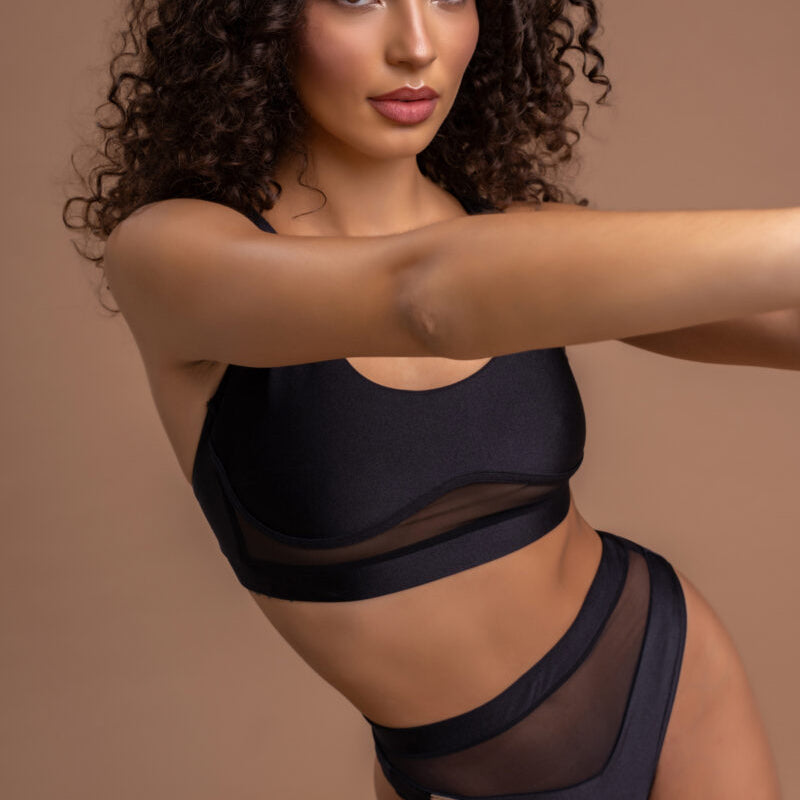
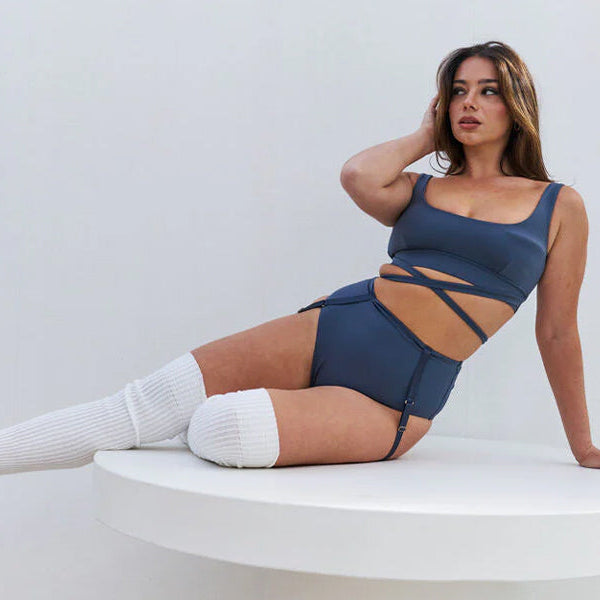
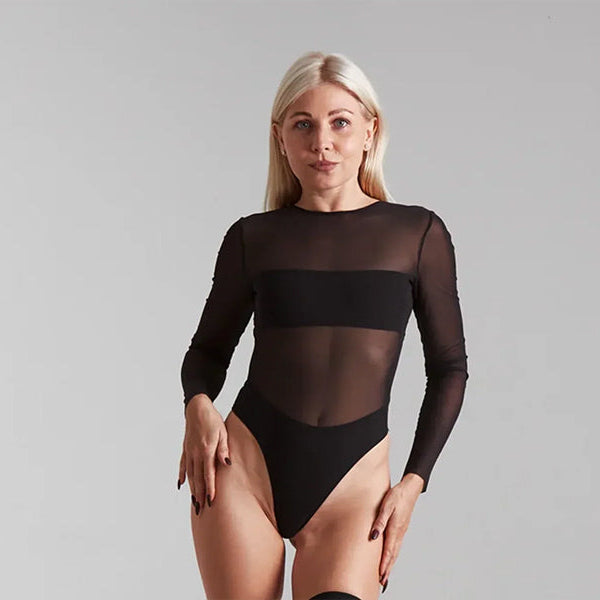
Before starting: wear fitted shorts that expose your inner thigh, a fitted top that stays put, and bare feet. Clean, dry skin, no lotion. Warm up thoroughly.
Move 1: The Pole Walk
What it is: Controlled directional movement around the pole while maintaining your hand grip.
Why it matters: The pole walk is the most fundamental movement relationship you establish with the pole. It teaches proper hand grip, correct body proximity to the pole, and the basic weight transfer that all spins depend on.
Step-by-step:
-
Stand beside the pole, dominant hand gripping above head (slight elbow bend), non-dominant at chest height
-
Step your inside foot forward and around the pole
-
Follow with your outside foot, maintaining your grip
-
Continue walking in a circle, keeping your body upright and weight on the balls of your feet
Common mistakes: Leaning away from the pole, gripping with fingers only instead of full palm, letting the elbows fully extend.
Move 2: The Fireman Spin
What it is: The most fundamental pole spin - a downward spiral around the pole initiated by a push-off from the floor.
Why it matters: The fireman teaches you how spinning momentum works, how to initiate rotation safely, and how to land with control.
Step-by-step:
-
Stand beside pole, top hand above head, bottom hand at chest
-
Step outside foot forward as a push-off step
-
Swing outside leg out and around
-
Inside foot hooks the pole (outside edge of foot against pole)
-
Feet cross at the ankle, bodyweight creates downward spiral
-
Body stays close to the pole throughout
-
Land softly by releasing feet near the floor
Common mistakes: Pushing off too hard (causes spinning out of control), swinging away from the pole (creates wobble), gripping fingers-only.
Move 3: The Chair Spin
What it is: A spin in which the legs extend forward into a "seated" position both legs out in front of the body at hip height while rotating around the pole.
Why it matters: The chair spin introduces deliberate body shaping during movement - your first experience of creating visual lines with your legs while spinning.
Step-by-step:
-
Same starting grip as the fireman
-
Push off with outside foot
-
As rotation begins, sweep outside leg forward and up to hip height
-
Inside leg joins outside leg in the extended position - knees slightly bent, body leaning back slightly
-
Hold the seated shape through the rotation
-
Lower to the floor, releasing the shape near the bottom
Common mistakes: Bent toes (point them), legs dropping before landing, not committing to the shape.
Technique note: Consciously point your feet and extend your legs. This is your first deliberate aesthetic choice in pole - make it count.

Move 4: The Front Hook Spin
What it is: A spin where one leg hooks in front of the pole while the body rotates, creating a different visual line from the fireman and chair.
Step-by-step:
-
Stand facing the pole slightly to the side
-
Grip with top hand high, bottom hand lower
-
Step outside foot forward and hook it in front of the pole (inside of the knee hooks around the front of the pole)
-
Push off and rotate, keeping the hooked leg engaged against the pole
-
Other leg can extend or join the hooked leg depending on the variation
Common mistakes: Not fully committing the hook (leg slips), losing the grip connection through the rotation.
Move 5: The Back Hook Spin
What it is: The mirror of the front hook - one leg hooks behind the pole. Creates a different body angle and visual line.
Step-by-step:
-
Stand beside pole
-
Grip - top hand up, bottom hand at chest
-
Push off and bring your outside leg back to hook behind the pole (back of the knee contacts the pole)
-
Rotate with this back-hooked leg as your connection point
-
Inside leg can extend or bend depending on the variation
Common mistakes: Not getting enough height on the initial push-off to allow the leg to hook comfortably.
Move 6: The Basic Body Wave
What it is: A sequential undulation through the full spine from the crown of the head to the hips performed standing beside or in front of the pole.
Why it matters: The body wave is the fundamental movement quality of expressive pole dancing. It develops spinal articulation - the ability to move the spine segment by segment that directly improves every other movement's quality and fluidity.
Step-by-step:
-
Stand in front of or beside the pole, one or both hands lightly on the pole for balance
-
Begin by tilting your head forward slightly
-
Allow the movement to travel down sequentially neck, upper chest, mid-chest, ribcage, lower belly, hips
-
As the wave reaches your hips, let them push forward and down
-
Reverse the direction to complete the wave
-
Connect multiple waves into a continuous undulation
Common mistakes: Moving everything at once instead of sequentially (this is a spine articulation exercise, not a shimmy), holding the breath (breathe continuously through the wave).
Practice method: Stand with your back to a wall. Try to sequentially touch each section of your spine to the wall, then peel it away. This gives you tactile feedback for each individual spinal segment.
Move 7: The Basic Climb
What it is: Ascending the pole using a combination of hand grip and leg grip to push yourself upward.
Why it matters: The climb is the gateway to all aerial pole work. Every invert, every elevated hold, every trick above the floor requires getting up the pole first. This is also the move that most visibly demonstrates your growing strength.
Step-by-step:
-
Stand facing the pole, grip with both hands - top hand high, bottom hand at shoulder height
-
Jump upward, simultaneously bending both knees toward the pole
-
As your body rises, the inside of one foot presses against the pole (arch of foot), the outside of the other foot presses against the opposite side - your legs are now clamping the pole
-
Squeeze your legs together and stand up on this leg grip - this pushes your body higher
-
Slide your top hand higher on the pole, followed by your bottom hand
-
Repeat jump, clamp, stand, slide hands to ascend
Common mistakes: Using only arm strength to pull (you need the legs), not fully clamping before trying to stand up, letting go of the leg grip when sliding hands.
Realistic expectation: Most beginners can't climb on their first attempt. The grip strength, leg coordination, and upper body pulling strength builds over weeks of attempts. Every failed attempt is conditioning.
Move 8: The Pole Sit
What it is: A held position in which you are seated on the pole - your inner thigh grip and bottom hand creating a stable seated position elevated off the floor.
Why it matters: The pole sit is your first static hold - a position maintained by grip and strength rather than momentum. It builds the specific inner thigh and hand grip strength that advanced pole work requires.
Step-by-step:
-
Climb partway up the pole (or jump to position)
-
Hook your inside knee over the pole - the back of the knee contacts the pole, the thigh presses down
-
Your bottom hand grips the pole below your bottom
-
Engage your inner thigh to press your leg into the pole - this creates the friction that holds you up
-
Hold the position with your top hand reaching up or extended to the side
Common mistakes: Not squeezing the inner thigh hard enough (results in sliding), tensing the shoulders rather than engaging the actual grip surfaces.
Move 9: The Pencil Spin
What it is: A vertical spin with the body held in a straight, tight line - arms above head, body close to the pole, legs together. The simplest spin shape.
Step-by-step:
-
Reach both arms overhead, hands gripping the pole above your head
-
Draw your body close to the pole, feet together, everything tight
-
Push off gently from the floor - the tight body position and close proximity to the pole creates a fast, clean spin
-
Focus on keeping the tight line through the entire rotation
Why it matters: The pencil teaches you how body shape affects spin speed and control. A tight shape spins fast; an open shape spins slow. This physics understanding informs every spin you'll ever do.
Move 10: The Attitude Spin
What it is: A spin in which one leg is lifted into an "attitude" position - knee bent at roughly 90 degrees, foot behind the hip at hip height while the other leg extends toward the floor.
Step-by-step:
-
Same grip as fireman, standing beside pole
-
Push off with outside foot
-
As rotation begins, lift your inside knee behind your hip (this is the attitude position - bent knee, foot behind)
-
Your outside leg extends downward, foot pointed
-
Hold this asymmetric shape through the rotation
What it develops: This is your first spin with an asymmetric shape — one leg up, one down. It builds the body awareness to maintain different shapes on each side of the body simultaneously.
Move 11: The Seated Side Stretch (Fan Kick Entry)
What it is: A flowing movement in which one leg extends outward in a wide arc - a fan kick - used as an entry into various spin positions or as a standalone expressive movement.
Step-by-step:
-
Stand beside the pole with a light grip
-
Keeping your standing foot planted, sweep the free leg in a wide horizontal arc from behind, across the front, and continuing around
-
Let the momentum of the leg carry your body into a light rotation around the pole
-
This can be exited into a fireman, chair, or simply concluded as the leg completes its arc
Why it matters: The fan kick introduces momentum generated by a limb rather than a push-off - a key principle in linking movements together fluidly.
Move 12: The Basic Invert (Tuck Invert)
What it is: The first inverted position - getting your head below your hips on the pole using a tuck (knees drawn to chest) shape.
Critical safety note: Attempt for the first time with a qualified spotter and/or crash mat directly beneath you. This move requires sufficient grip strength and body awareness. If you are not confident in your upper body strength yet, build the strength first.
Step-by-step:
-
Hang from the pole with both hands, arms slightly bent, shoulder blades actively engaged (not passive hanging)
-
Engage your core and draw your knees to your chest in a tuck
-
Use your core to continue tilting your hips upward - your hips move toward the ceiling
-
When your hips are higher than your shoulders, you are inverted in a tuck
-
Hold for one breath (maintaining the shoulder engagement is critical)
-
Come down slowly and controlled, reversing the movement
What it develops: The basic invert is the foundation of almost everything in intermediate pole. Every subsequent move that takes you off the floor builds from this fundamental inverted position.
Building From These Foundations
These 12 moves are a progression, not a checklist. Work through them in rough order. Develop each until you have real consistency not perfection, but reliable execution before focusing heavily on the next.
The pole dancers who progress fastest are the ones who develop genuine competence in the fundamentals before reaching for advanced material. Every one of the most impressive pole moves you've ever seen was built on exactly these 12 foundational movements.
What to Wear While You're Learning
Every move on this list requires skin contact at specific points. The climb, pole sit, and invert all need inner thigh exposure. Wearing proper pole dance clothing fitted shorts with a high leg cut, a fitted top, bare feet makes these moves safer and more achievable.
Browse our Bottoms collection for beginner-appropriate pole shorts from quality brands like Lunalae and Rolling Brand. Our Tops have fitted, stay-put options for every training style.
All shipped from within the US - no tariffs, easy returns, founded by a pole dancer who learned every move on this list herself.
Shop at thepoleedit.com/collections/all.
