

So you want to learn how to pole dance. You've seen the videos, you understand it's a real athletic discipline, and you're ready to actually try it. But where exactly do you start and what does the process actually look like when you're learning from zero?
This step-by-step guide walks you through exactly how pole dancing works: the fundamentals of grip and body position, the first moves you should learn in order, the technique principles that make everything safer and faster to learn, and what to wear while you're doing it. Whether you're preparing for your first studio class or setting up a home pole, this is the tutorial that gives you a genuine foundation.
Before You Touch the Pole: The Setup Essentials
Clean, dry skin. No exceptions.
This is the single most important preparation step for anyone learning how to pole dance. Lotion, body oil, moisturizer, sunscreen anything oily or waxy on your skin acts as a lubricant between you and the pole. Grip becomes impossible. Moves that should feel secure feel terrifying.
Shower before class if you've applied any body products. If you can't shower, use a damp cloth or pole-safe grip wipe to clean the specific skin areas that will contact the pole: inner thighs, hands, inner arms.
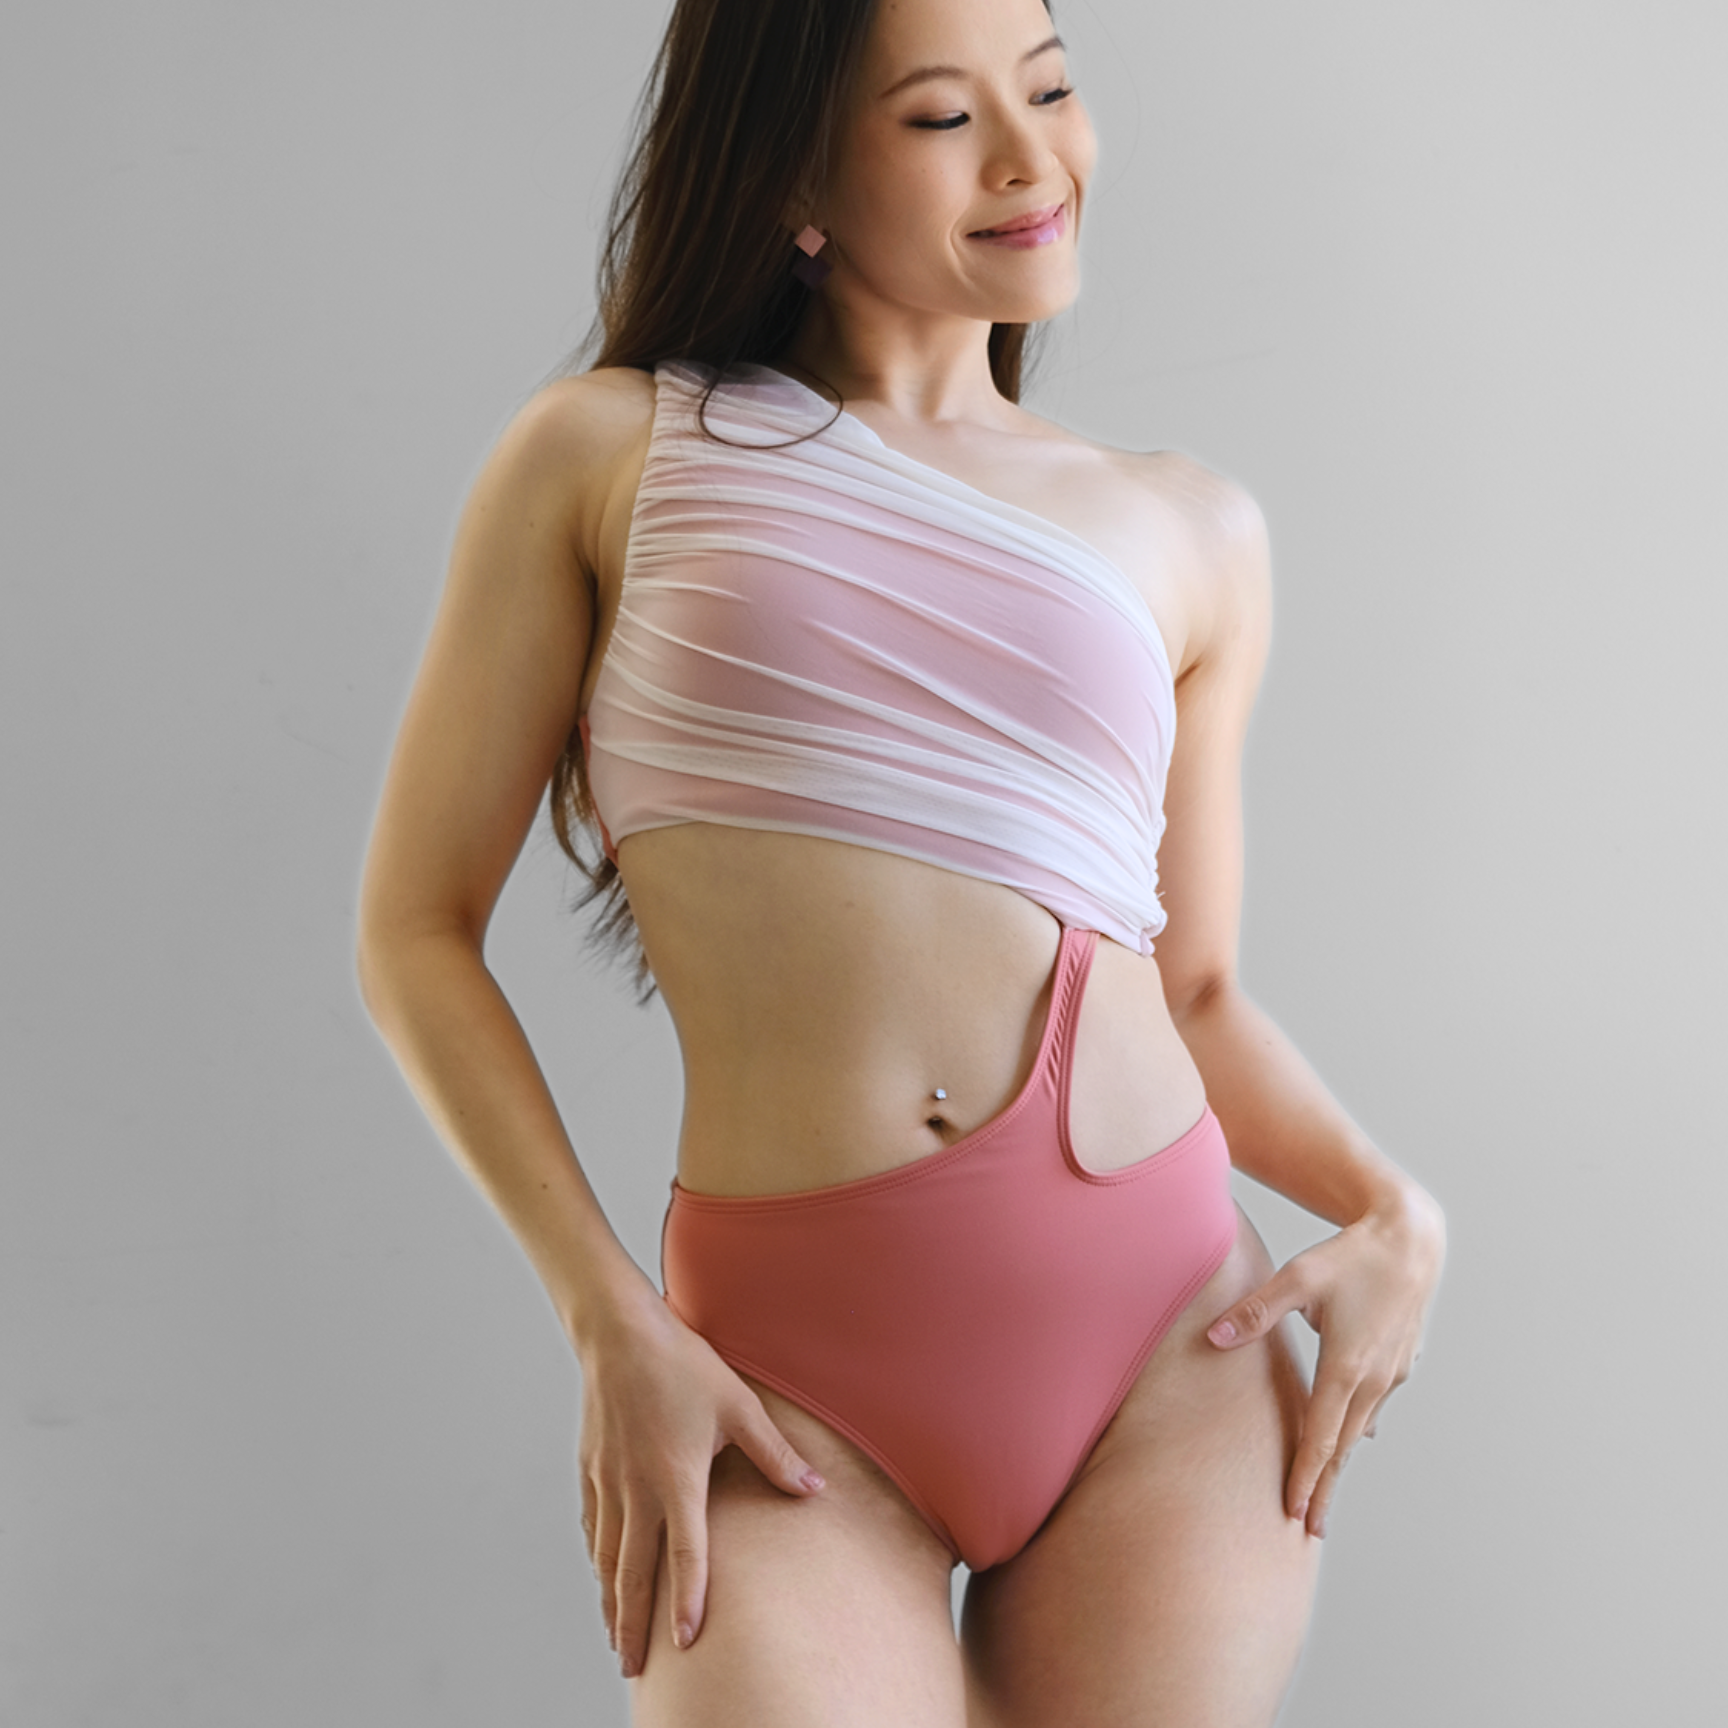
The right clothing.
Pole dancing requires skin-to-pole contact for grip. Covered skin can't grip. This means your training clothing should expose your inner thighs, arms, and midriff. The standard beginner setup: fitted shorts with a high enough leg cut to expose the inner thigh, a fitted crop top or sports bra, bare feet.
Browse real pole dance shorts at The Pole Edit quality polewear built for actual training, shipped from within the US with easy returns.
Warm up thoroughly.
Cold muscles and cold skin don't grip well and are more injury-prone. A proper pole warm-up includes: 5 minutes of light cardio to raise your core temperature, shoulder circles and wrist rotations, hip mobility work, and light dynamic stretching. Never skip this step.
Step 1: Learn Your Hand Grip
Before any spin or move, you need to understand how your hands interact with the pole.
The Basic Hand Grip
For most beginner moves, your dominant hand grips the pole above your head (this is your top hand), and your non-dominant hand grips at about chest or shoulder height (this is your bottom hand). Both hands grip with the fingers wrapped around the pole from the front, thumb wrapped around the back.
Key principles:
-
Grip with your full hand, not just your fingers. The more surface area of your palm that contacts the pole, the more secure your grip.
-
Your top arm should be slightly bent at the elbow, not fully extended and not deeply bent. A slight bend gives you structural stability.
-
Engage your shoulder. Think of pulling your shoulder blade down and back slightly - this activates your lat and makes your grip structurally stronger rather than relying on arm strength alone.
The Grip Test
Before any spin, practice the grip test: stand beside the pole, take your grip, and put some of your body weight through your hands. Does it feel secure? Does the pole feel stable? Can you feel your full palm in contact? If yes, you're ready to move.
Step 2: Your First Pole Walk
Before spinning, walk. The pole walk is the most fundamental movement in pole dancing controlled directional movement around the pole while maintaining hand grip.
How to do a basic pole walk:
-
Take your hand grip - top hand above, bottom hand at chest height, both on the front of the pole.
-
Step your inside foot (the foot closest to the pole) forward and slightly around the pole.
-
Follow with your outside foot, maintaining your grip.
-
Keep walking in a circle around the pole, maintaining your grip and keeping your body close to the pole.
Focus on: keeping your weight slightly forward onto the balls of your feet, maintaining the shoulder engagement from your grip, and keeping your body upright rather than leaning away from the pole.
This sounds almost too simple, but the pole walk establishes the body position, the relationship to the pole's center line, and the grip habits that every spin and move builds on. Take it seriously.
Step 3: Your First Spin - The Fireman Spin
The fireman spin is the foundational beginner spin in pole dancing. It's called the fireman because the movement resembles how a firefighter descends a pole.
Step-by-step technique:
-
Stand beside the pole with your top hand gripping above your head (slight elbow bend) and your bottom hand at chest height.
-
Plant your inside foot (closest to the pole) about 6 inches from the pole's base. This foot will hook around the pole during the spin.
-
Take a small step forward with your outside foot to initiate momentum. This is your push-off step - it starts the rotation.
-
As you push off, swing your outside leg out and around in a small arc while your inside foot hooks the pole (the outside edge of your inside foot presses against the pole for grip).
-
Bring your outside leg to meet your inside leg, cross your feet at the ankle, and let your bodyweight create the downward spiral around the pole.
-
Keep your body close to the pole not swinging away. The closer you stay, the more controlled the spin.
-
Land softly by releasing your feet as you near the floor and returning to standing.
Common beginner corrections:
-
Pushing off too hard creates an uncontrolled spin. Start with a gentle push and add power once you understand the rotation.
-
Swinging away from the pole (arching backward) makes the spin wobbly. Engage your core and keep your body vertical.
-
Gripping with just the fingers - use the whole palm.
Practice the fireman spin on both sides. The non-dominant side will feel awkward at first. Train it anyway it matters for the rest of your pole development.
Step 4: The Chair Spin
Once the fireman feels controlled, the chair spin adds a new body shape that introduces the concept of creating visual lines with your legs.
Step-by-step technique:
-
Same grip as the fireman: top hand up, bottom hand at chest, standing beside the pole.
-
Push off with your outside foot, same as the fireman. As you begin to rotate, instead of bringing both feet to the pole, sweep your outside leg out to the side and extend it forward at roughly hip height.
-
Your inside leg joins the outside leg in this extended position, creating a "seated" position in the air - both knees bent, body leaning back slightly from the pole.
-
Hold this seated shape through the rotation and lower to the floor.
The key difference from the fireman: The chair spin is your first introduction to creating a deliberate body shape in the air rather than just descending the pole. Point your toes. Extend your legs intentionally. These small decisions are where pole dancing starts becoming pole dancing.
Step 5: Understanding Pole Grip - Beyond Your Hands
As you progress beyond the first spins, you'll encounter something that surprises almost every beginner: your legs are grip tools too.
The thigh grip is the most important leg grip in pole dancing. This is why your shorts need to expose your inner thigh that skin provides the friction that holds you on the pole during climbs, inverts, and a huge range of intermediate moves.
To practice the thigh grip without inverting: stand beside the pole, place your inner thigh against the pole at mid-thigh, and squeeze. Feel how the skin creates friction. This is the mechanism that will eventually allow you to hang upside down safely.
The knee pit grip (the soft skin behind the knee) becomes relevant in the intermediate progression. The arm grip (inner forearm) is used in specific shoulder and arm holds. The more grip surfaces you can control intentionally, the more moves become available to you.
Step 6: Your First Climb
The climb is the milestone that most beginners work toward in their first month. It's the move that makes you feel like a pole dancer.
The beginner climb technique:
-
Stand facing the pole. Grip with both hands, top hand high, bottom hand about shoulder height.
-
Jump upward, simultaneously bending your knees and bringing them toward the pole.
-
As your knees come to the pole, hook your inside foot against the pole (like the fireman), press the outer edge of your other foot against the opposite side of the pole, and SQUEEZE. Your thighs and feet are now clamping the pole.
-
Stand up on this leg grip - straighten your legs to push your body upward on the pole.
-
Slide your hands up to a new grip position and repeat.
Why most beginners struggle: The grip strength and coordination needed to climb builds progressively. Most people cannot climb on day one. The relevant muscles, forearms, inner thighs, the pulling muscles of the back need to be conditioned through repeated attempts. Every failed climb attempt is conditioning work that makes the next attempt more likely to succeed.
Step 7: Your First Invert Attempt
Inverting your head below your hips on the pole - is the gateway to the vast majority of advanced pole dancing. It requires: sufficient upper body strength to control your bodyweight, body awareness in inverted orientation, and trust in your grip.
The safety-first approach:
Never attempt your first invert without either a spotter (an instructor or experienced dancer who can guide and catch you) or a crash mat directly below you. Preferably both.
The basic invert technique:
-
Start hanging from the pole with both hands, arms slightly bent, shoulder blades engaged.
-
Engage your core and bring your knees to your chest (tuck position). Your center of gravity is now higher.
-
Continue the motion by bringing your hips upward - you're essentially doing a tuck invert, bringing your hips above your shoulders.
-
Hold the inverted tuck for one breath, then come down slowly and controlled.
This is a simplified description - your instructor should guide you through your first full invert with physical spotting. The written description gives you the mechanical understanding; the spotting gives you the safety net to actually try it.

The Most Important Technique Principle: Quality Over Quantity
If there is one principle that separates pole dancers who progress quickly from those who plateau, it's this: quality repetitions beat numerous sloppy ones every time.
Every spin, every climb attempt, every invert - done with full attention to your grip, your body position, your pointed toes, and your shoulder engagement builds better neuromuscular patterns than rushing through ten repetitions while thinking about something else.
Slow down. Feel what your body is doing. Correct the thing that's slightly off. This is how technique actually develops.
What to Wear When You're Learning How to Pole Dance
The right pole dance training clothes make every step of this tutorial more effective:
-
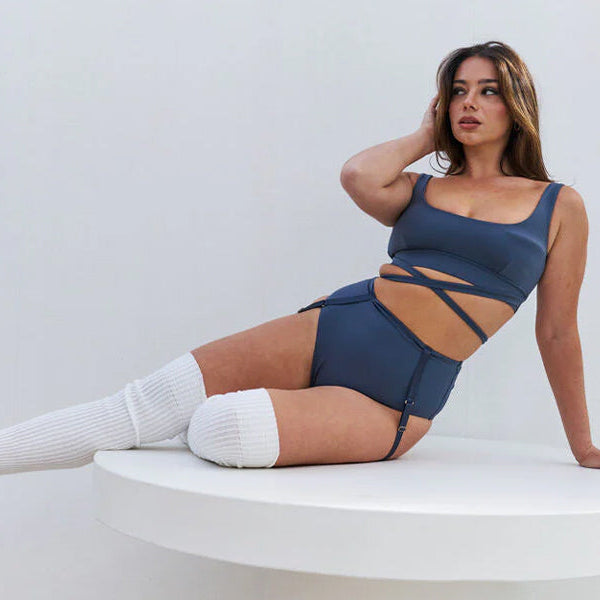
Shorts that expose your inner thigh - you'll need this from Step 5 onward, and practicing with it exposed from the beginning builds the right habits. Browse our Bottoms collection
-
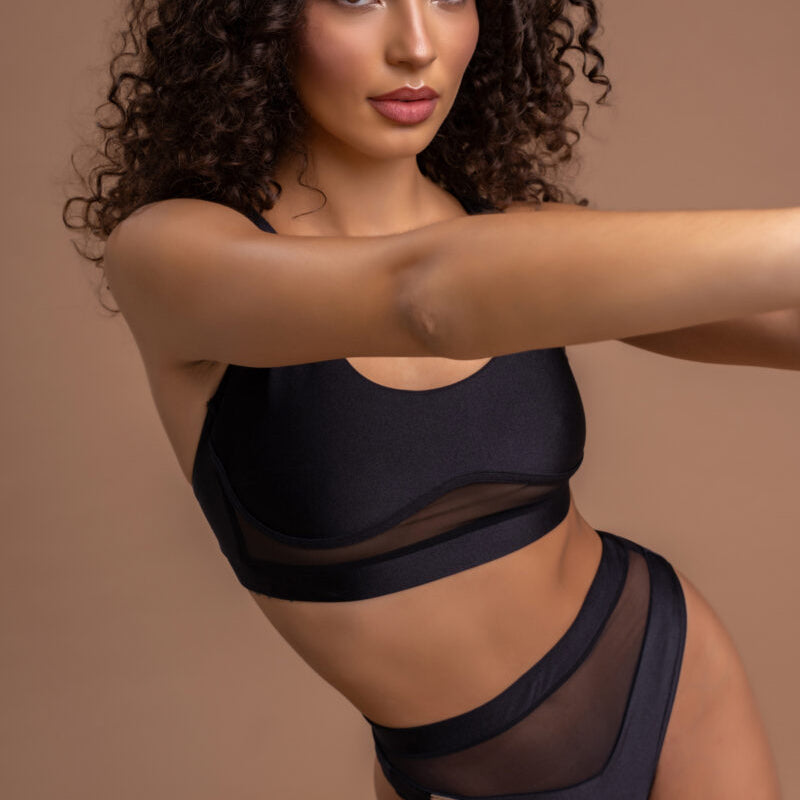
A fitted crop top or sports bra that stays put during the fireman and chair spin - nothing loose that flips or shifts. Browse our Tops
-
Bare feet - always for pole work
Everything at The Pole Edit ships domestically from within the US. No tariffs, fast delivery, easy returns if the size needs adjusting. Founded by a pole dancer who went through every step of this tutorial herself.
Start at thepoleedit.com/collections/all.
