
There's a moment in every pole dancer's journey when they film themselves for the first time and watch it back. Sometimes it's humbling. Often it's more impressive than they expected. Almost always, it changes how they train.
Filming your pole practice is one of the most powerful training tools available - it gives you the external view that you simply cannot get while you're in the middle of executing a move. But it's also how the pole community documents progress, builds community connections, and when done with any care at all - produces genuinely beautiful content.
This guide covers the practical side: how to film solo, what gear actually helps, how to set up for the best results, and because it matters enormously on camera how to think about what you wear when you're documenting your pole journey.
Why Filming Your Pole Practice Makes You Better
Before the technical side, it's worth making the case for filming as a training tool because many dancers resist it at first.
You cannot see yourself from the outside while you're training. Your proprioceptive sense (internal feeling of your body position) is often significantly different from what your movement actually looks like. A move that feels perfect can look rough in ways that are completely invisible to you without footage. A move that feels awkward can look far better than you'd guess.
Footage reveals specific fixable issues. Watching your own clips, you'll notice things your instructor sees but you can't feel: a hip that drops in a specific position, a pointed foot that involuntarily flexes, a head that doesn't go where you intend it to. These are fixable once you can see them.
Progress comparison is motivating in a specific, concrete way. Watching a clip from month one next to a clip from month six creates evidence of your own development that no amount of encouragement can replicate. The pole community's culture of "month X progress checks" exists because this comparison is genuinely useful and motivating.
It builds the content that connects you to the community. If you ever want to share your pole journey which many dancers do - filming is where it starts.
Solo Filming Setup: Making It Work Without a Crew
Most pole dancers film solo most of the time. Here's how to get results that are actually usable.
Phone Placement and Angle
The camera needs to see you, not the room. The most common mistake in solo pole filming is positioning the phone too far away, making the dancer tiny in the frame. You want to fill at least half the frame vertically.
Optimal placement for pole filming:
-
At torso height or slightly below, angled upward slightly - this elongates the body line and captures the full move including overhead elements
-
Far enough back to see your full extended leg line when you're in your biggest positions (test this before you film)
-
Stable — not handheld, not balanced precariously on something that will fall. A small gorilla tripod (flexible legs, wraps around objects) or a proper phone tripod is worth the $15–25 investment
The most useful angles:
-
Side profile: Captures the body's line most clearly. Best for seeing spine extension in backbends, leg lines in splits, and body shape in holds.
-
Slight diagonal: A 45-degree angle from the side captures both profile and frontal elements simultaneously. Good for floor work and moves that open to the front.
-
Front on: Useful for seeing symmetry, foot placement, and facial expression. Not ideal for most aerial moves where the profile line is the most informative.
Lighting: The Difference Between Footage and Content
Lighting is where most home and studio pole filming fails. Under-lit footage is muddy, your outfit colors wash out or disappear entirely, and the movement quality that you worked so hard for simply doesn't read.
What works:
-
Natural light from a window - the softest, most flattering light source. Position yourself with the window light hitting your front or slightly to the side. Side light creates shadow that adds dimension and drama.
-
Ring light - the pole content creator's go-to tool. A ring light provides consistent, even illumination that's flattering at close range and creates the distinctive catchlight in eyes that has become associated with quality content. Place it at eye level, slightly above and in front of you.
-
Studio overhead lighting - most studios have sufficient overhead lighting for usable footage. If the studio has dimmers, request full brightness.
What doesn't work:
-
Filming with a bright window or light source behind you - you'll be silhouetted unless that's intentional
-
Single harsh overhead light directly above - creates unflattering shadows on the face and washes out the body line
Recording Mode
For anything involving movement and spinning, record at 60fps rather than 30fps. The higher frame rate means you can slow down footage by 50% in editing without the stuttering, choppiness that comes from slow-motioning 30fps content. For pole, slow-motion footage of spins, drops, and dynamic transitions is some of the most compelling content you can create.

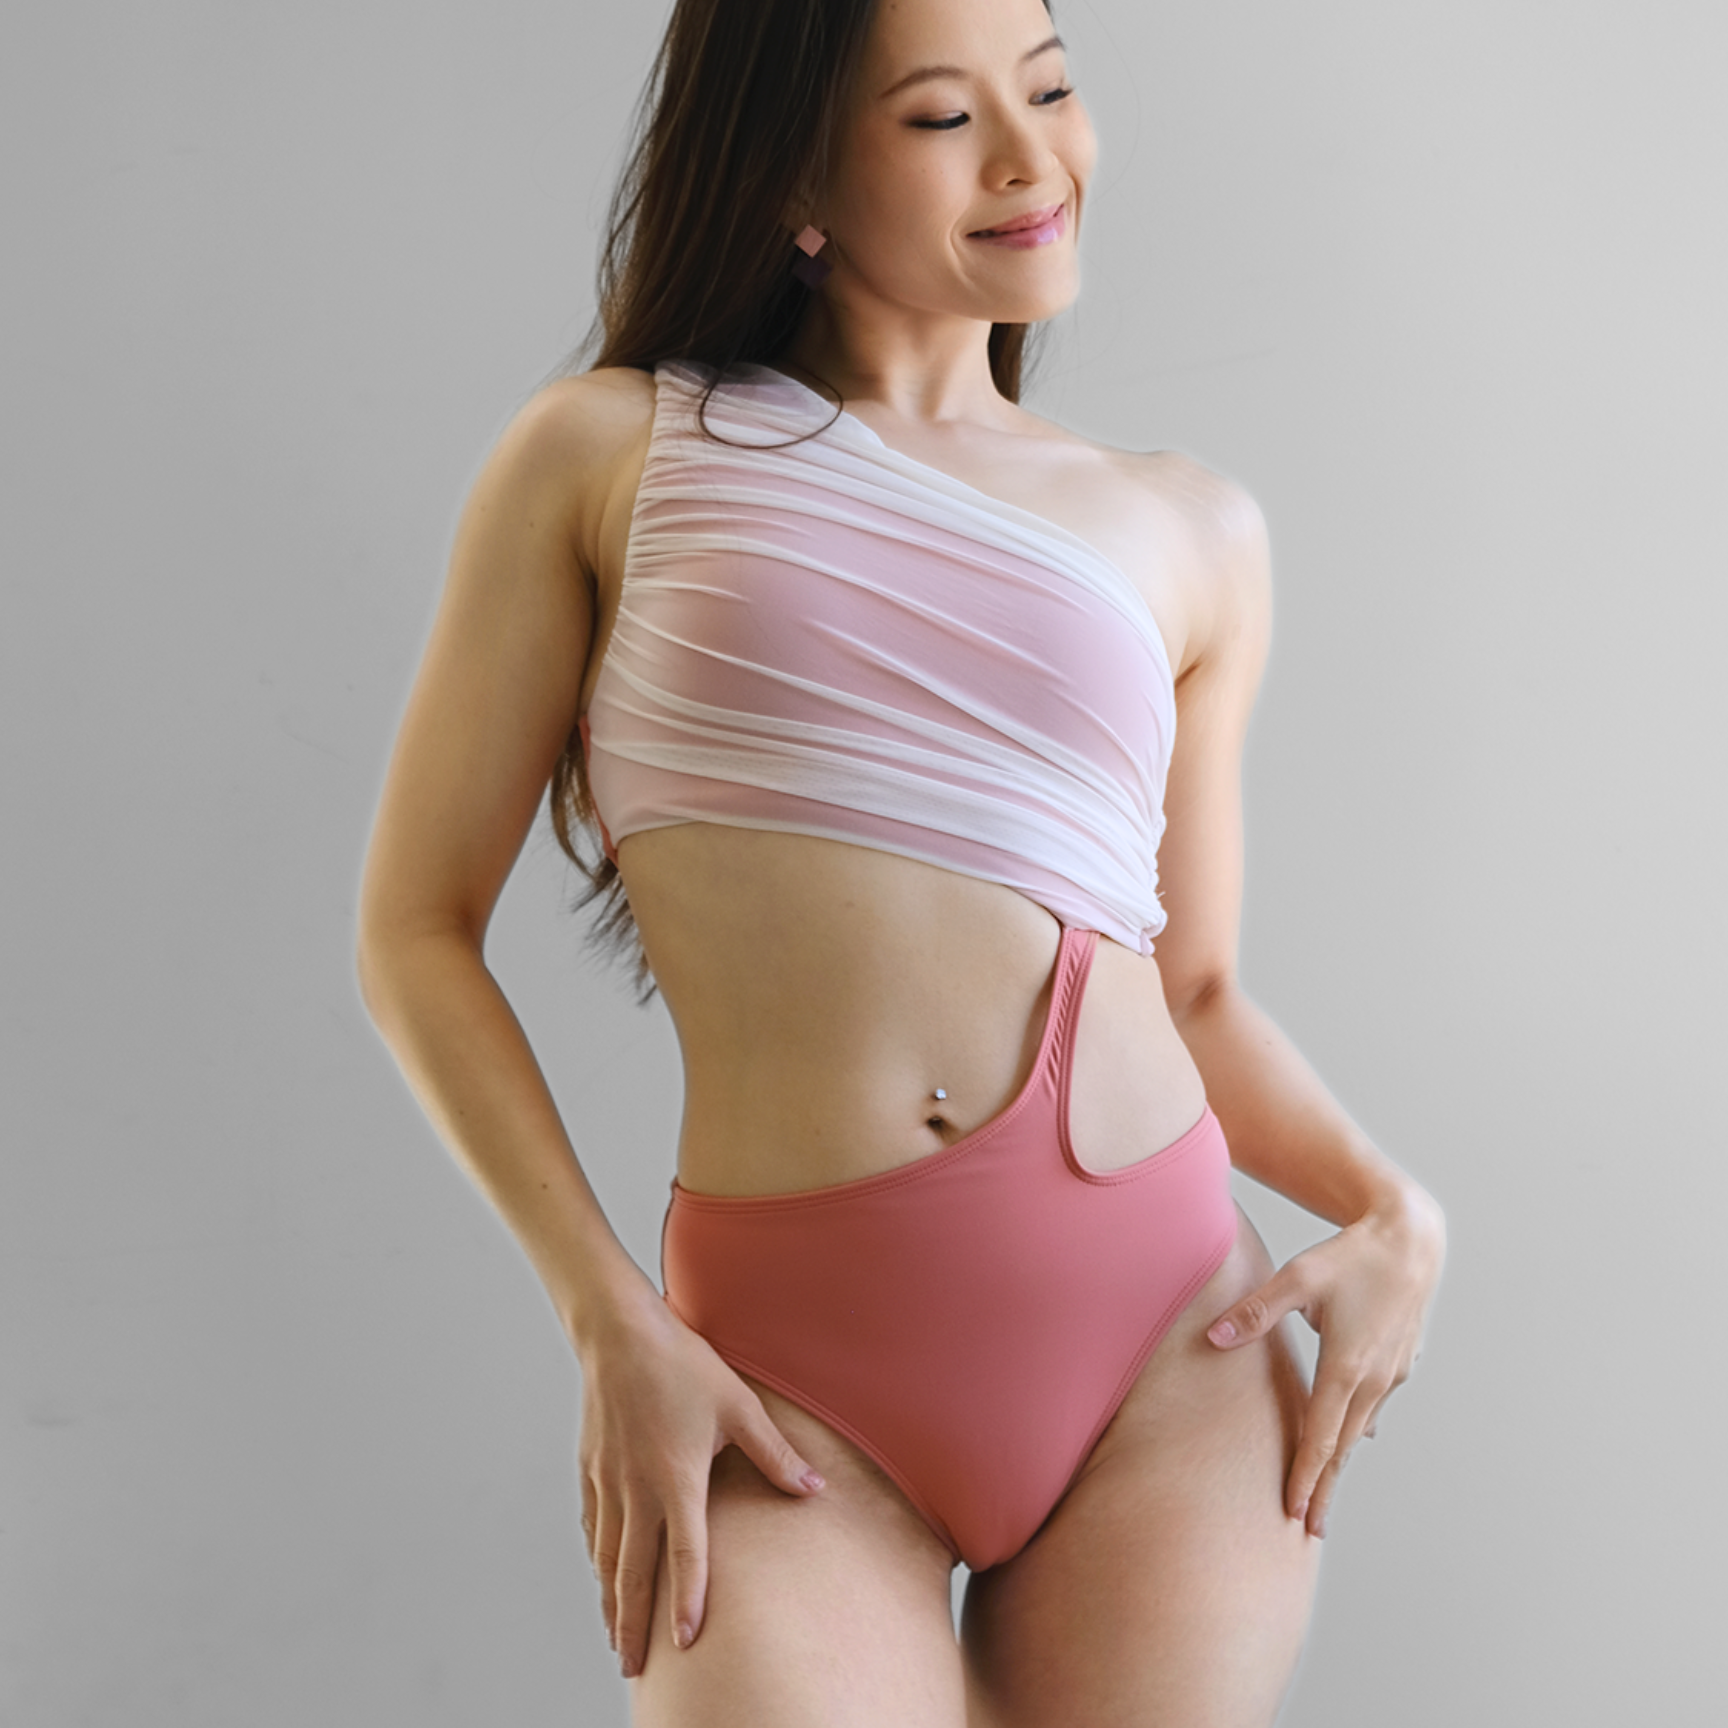
What to Wear When You're Filming: The Camera Changes Everything
This is where the guide becomes specifically valuable for your polewear decisions — because what you wear when you're filming your pole training is genuinely different from what you might wear for a regular training session, and understanding why helps you make intentional choices.
The Camera Sees Color and Texture Differently Than Your Eye Does
Studio lighting compresses and flattens what the camera captures. Colors that look vibrant in person can look dull on camera. Highly matte, dark fabrics absorb light and can lose body definition in footage. Textured, reflective, or detailed fabrics catch and interact with light in ways that register clearly on camera.
What tends to film beautifully:
-
Sequin and metallic fabrics - they catch light dynamically as you move, creating visual interest that regular fabric simply can't match. The Blue Sequin Vento Hot Pants ($49) and Blue Sequin Scorpio Bodysuit ($94) were essentially made for filming - every spin sends light everywhere
-
Bold, vibrant prints - cameras handle color better than subtle tonal differences. A lush botanical print or a vibrant solid reads clearly even in less-than-ideal lighting
-
Contrasting to the background - wear something that creates visual separation from your pole and your studio's wall color. If your studio has dark walls, light or bright colors separate you from the background. If the studio is white or light-colored, deeper or more saturated colors read better
What films less effectively:
-
Very dark, fully matte fabrics in dark studios - you and the pole can merge visually in ways that obscure the body line
-
Very pale or washed-out colors under harsh studio lighting - they can look overexposed
-
Heavily reflective fabrics under ring lights - occasional harsh specular glare can be distracting
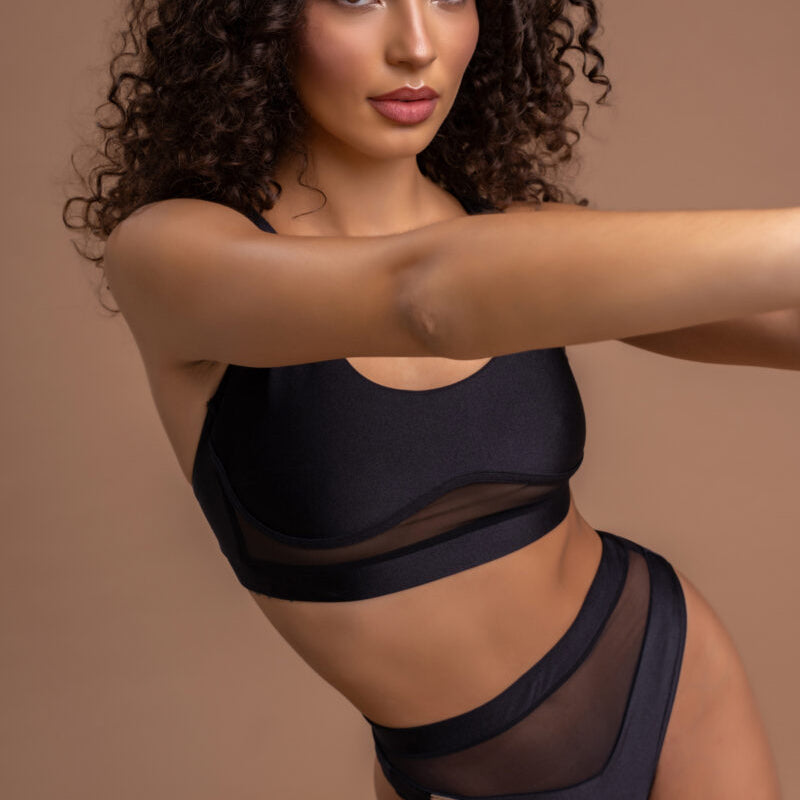
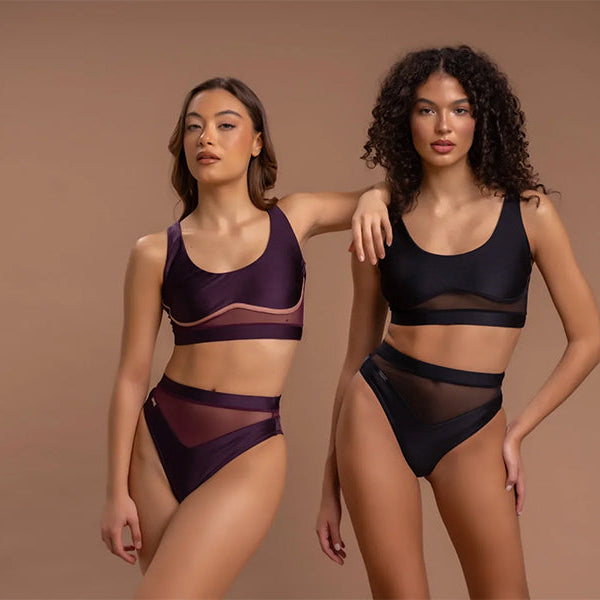
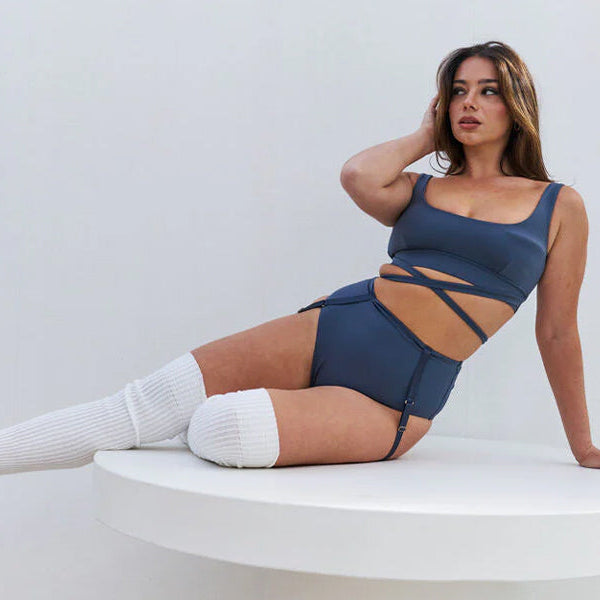
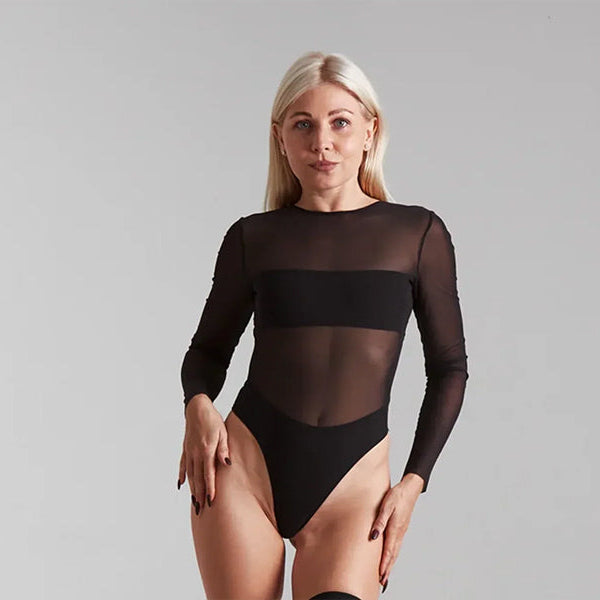
Body Line and Coverage
On camera, the visual line your body makes is everything. Clothing that creates a clear, continuous leg line high-cut shorts, minimal design at the hip area - reads better on camera than clothing that interrupts the line.
For full body filming: A matching set creates a continuous visual from top to bottom that reads as intentional and polished. The Florida V-Short Stripes Oceanis paired with a coordinating top or the Botanica matching collection creates this effect naturally.
For close-up or detail filming: Individual pieces with strong visual character - a strappy back detail, an interesting waistband design read more clearly in tighter shots.
The Progress Check Outfit
When you're filming a deliberate progress comparison of the same move, different months wear the same outfit if possible. This removes clothing as a visual variable and makes the comparison purely about your body and movement. Having one "progress check outfit" that you return to consistently makes your development more visually apparent and your content more compelling.
Editing and Sharing: A Minimal Starting Point
You don't need to become a content creator to benefit from filming your training. Even if nobody else ever sees your footage, reviewing it yourself after sessions is a legitimate training tool.
If you do want to share: Instagram Reels and TikTok are where the pole community's content lives. The native editing tools in both apps are sufficient for basic pole content. Slow motion on strong moves, music sync on flow sequences, and the occasional side-by-side progress comparison are the content formats the community responds to most.
Shop Camera-Ready Polewear at The Pole Edit
Find the pieces that look as good on camera as they feel to train in bold prints, sequin options, and matching sets from the world's best polewear brands, all shipped from within the United States with no tariffs and easy returns.
Browse Rolling Brand for performance and sequin pieces, Lunalae for beautiful print matching sets, and Paradise Chick for bold color and personality. Full collection at thepoleedit.com/collections/all.
Look good. Film it. Share the journey.
